Office 365 Email Addresses Plus Alias Setup
Brett M. Nelson - Wednesday, November 11, 2020
One of my email accounts uses Office 365, when we started using it I was surprised that it did not support Plus aliases. A recent update I saw on Twitter announced it was possible, but the directions require Windows Power Point.
What is a Plus Alias?
Before I get to far you may wonder what a Plus Alias for an email address is. Well, the following is the explanation taken from the MS Documents
An SMTP email address uses the basic syntax:
@ . For example, [email protected]. Plus addressing uses the syntax:
+ @ . For example, [email protected].
Why would I care?
Well, if you must test a lot of different form inputs that require new email addresses each time to start processes and flows it's easier to use one email address with an alias instead of creating a new email account every time.
The alias can also convey some extra information for tracking what was tested as well.
For example, I would use the email address [email protected] to test logic specific to the Minnesota region instead of the California region.
The Announcement
Exchange Online now supports plus addressing so you can easily create a new, unique email alias. Then sort/filter/rule on that addy or see who else starts sending to it. Great for subscriptions but note the limitations - not all subs support fully: https://t.co/7FOdyTviko
— Sonia Cuff (@SoniaCuff) November 1, 2020
The Catch
You must run the following command from Windows PowerShell when connected to Exchange Online:
Set-OrganizationConfig -AllowPlusAddressInRecipients $true
Sounds easy and if you are a System Admin or whatever it is that deals with Exchange Servers in PowerShell for your day job it is.
note: if you are a System Admin or whatever it is that deals with Exchange Servers in PowerShell for your day job this is not the post for you ;)
Since I am not and there doesn't seem to be a check box to enable this in my Office 365 menus, I had to figure out how to run this from PowerShell.
PowerShell Problems
The first issue I ran into is that I have never used a power shell module before. According to Connect to Exchange Online PowerShell it's easy just type:
Import-Module ExchangeOnlineManagement
Problem is when I run Import-Module ExchangeOnlineManagement I get the error Import-Module : The specified module 'ExchangeOnlineManagement' was not loaded because no valid module file was found in any module directory.
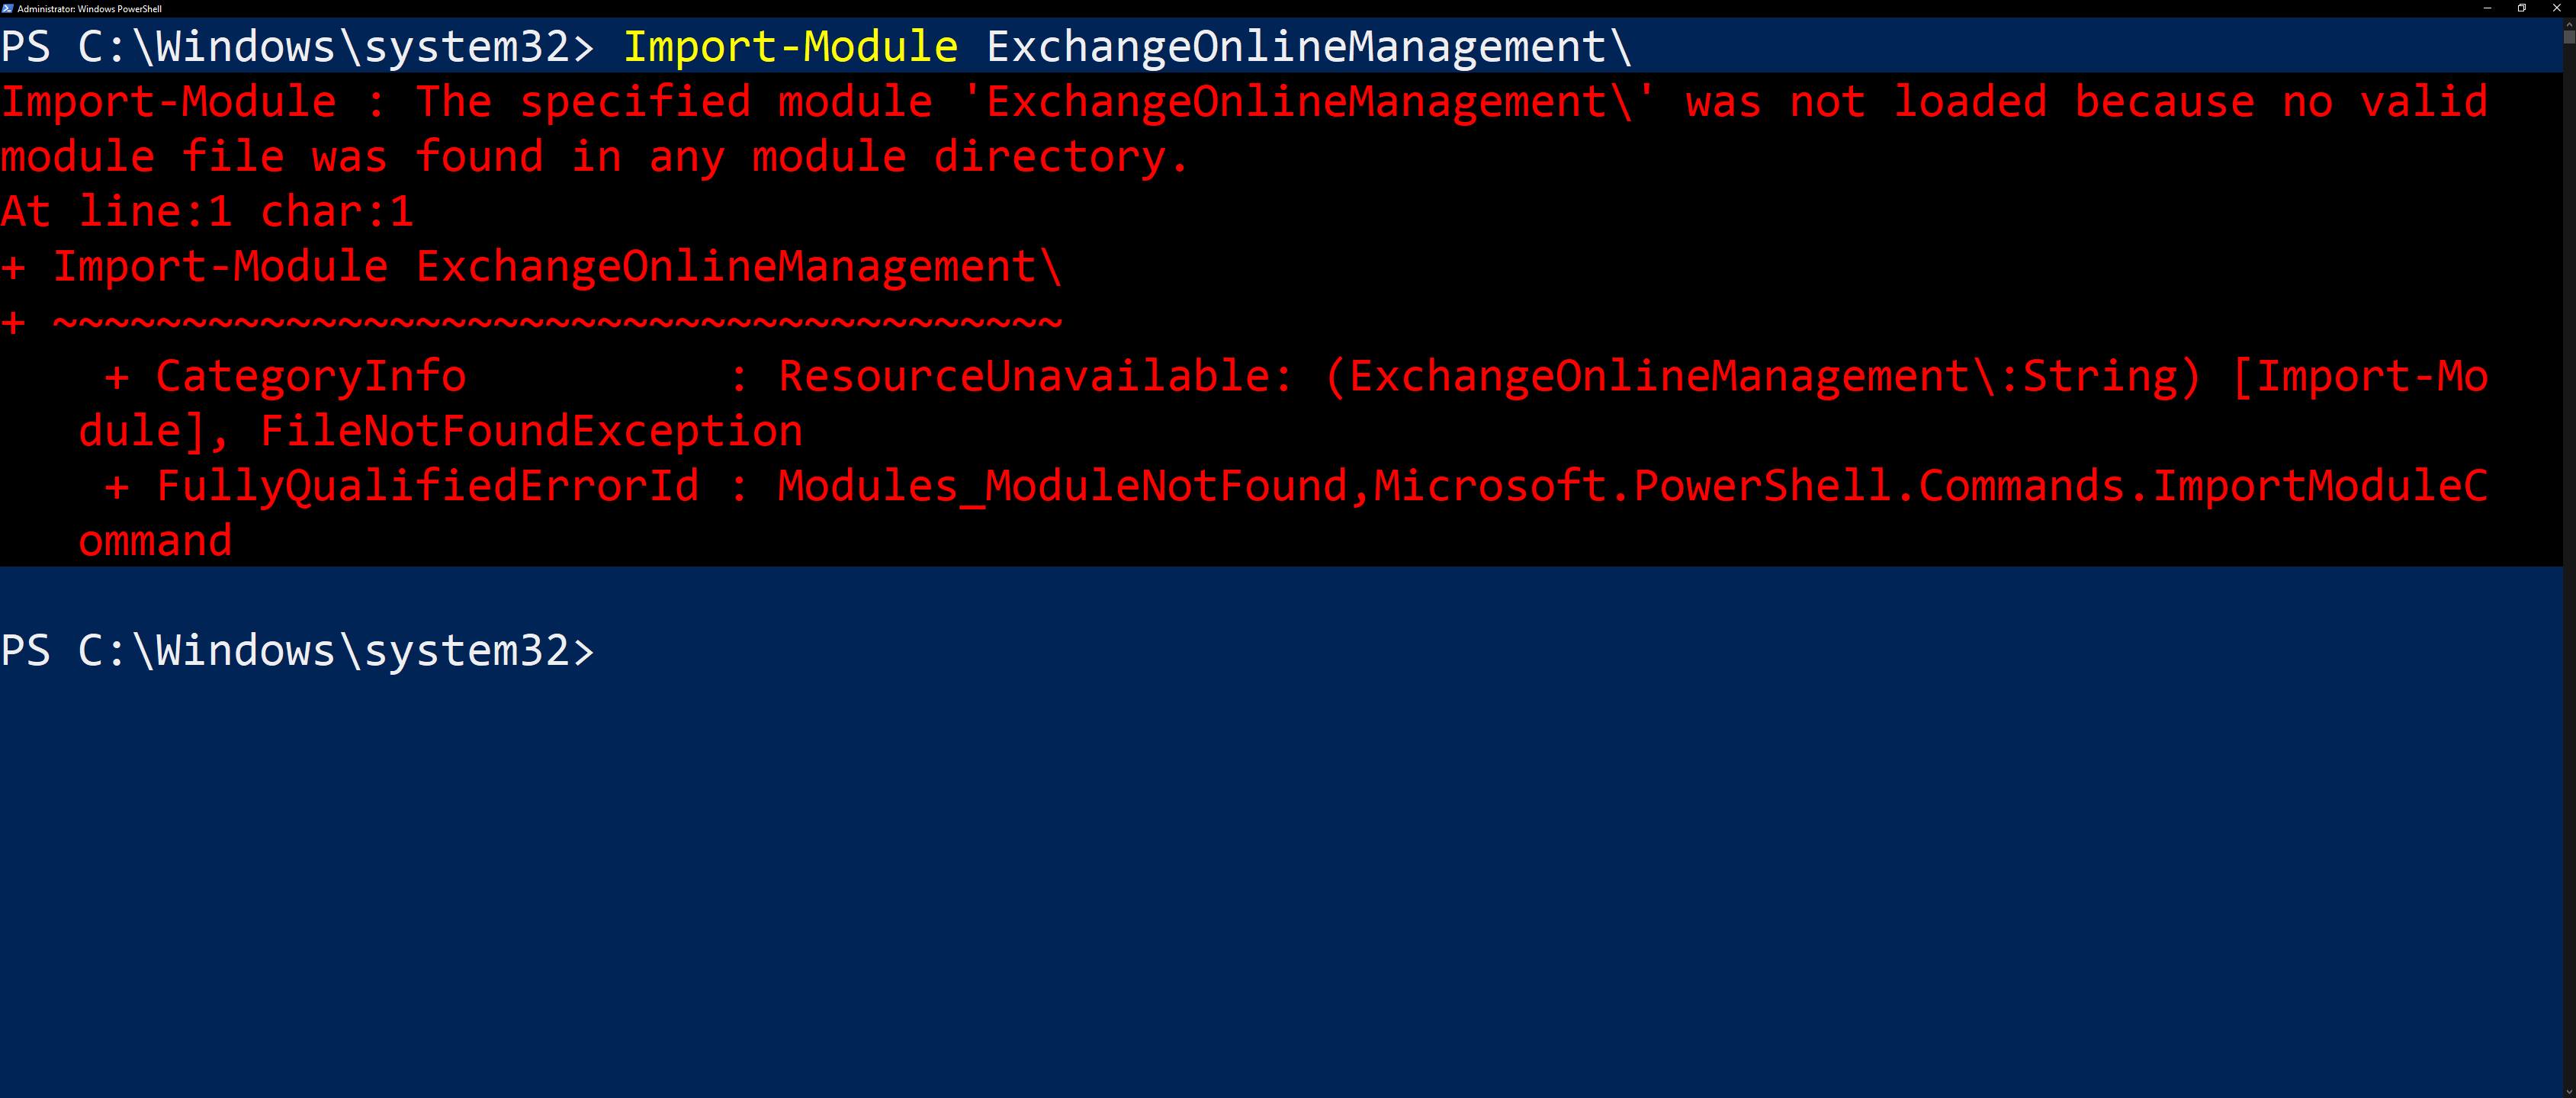
Some searching told me the issue is that by default PowerShell prevent executing scripts that were not signed locally so allow using the module I first had to enable running remotely signed modules with.
This is done with the following command:
Set-ExecutionPolicy RemoteSigned
and Type Y.
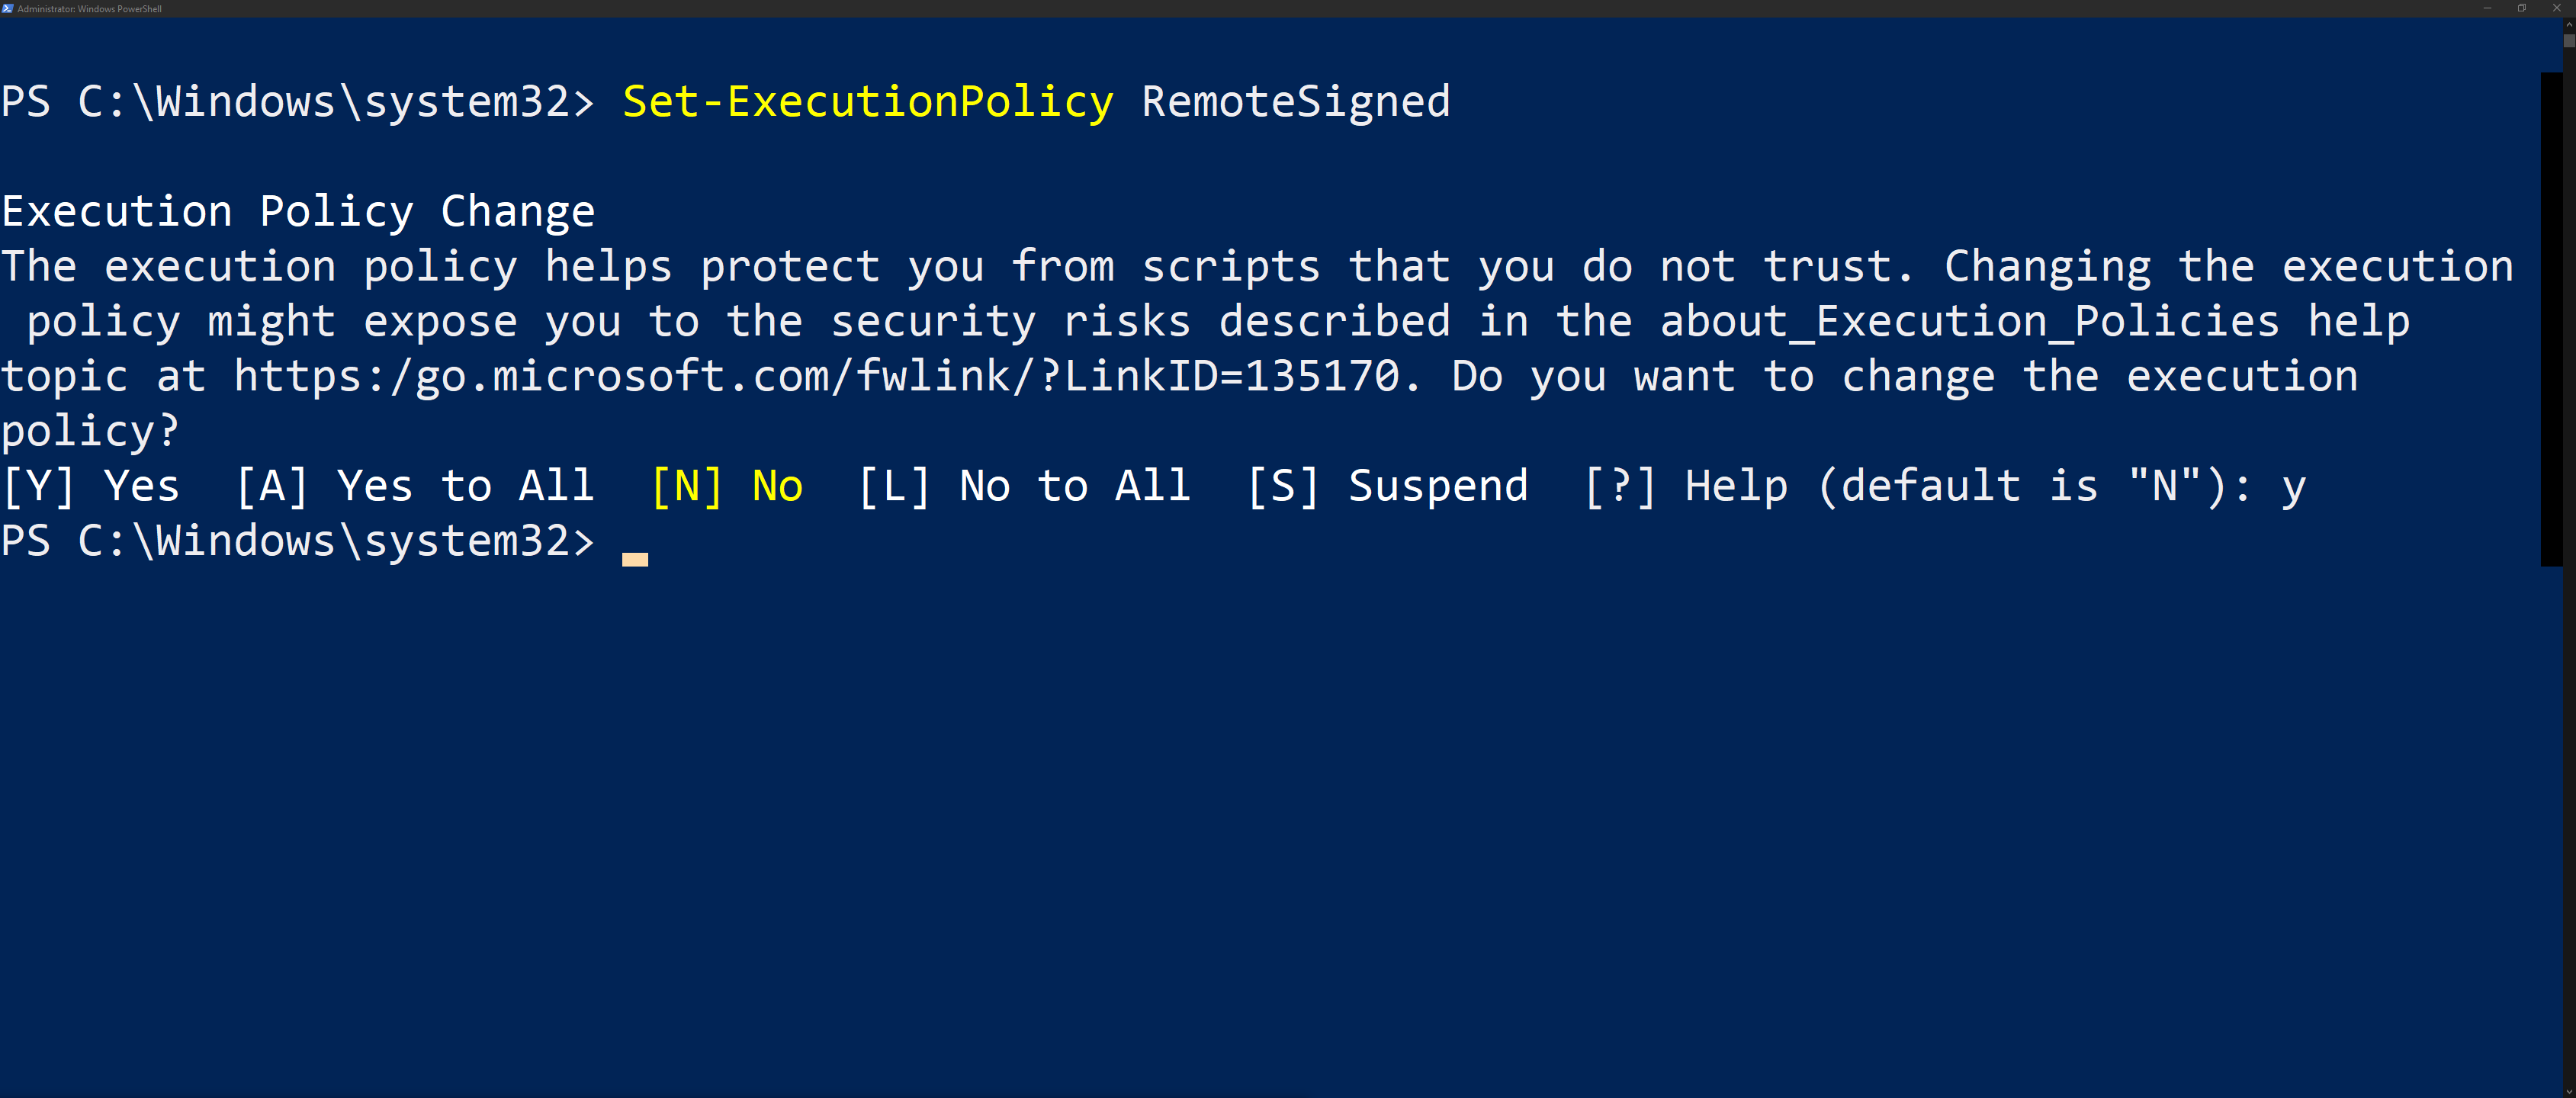
Then re-run the command to import the Exchange Online Management module:
Import-Module ExchangeOnlineManagement
Login to Exchange Online
to connecto to Exhange Online the command Connect-ExchangeOnline is used with the -UserPrincipalName set to your login information. In the following line you would replave <username> with your username and <domain.com> with your organizations domain.
Connect-ExchangeOnline -UserPrincipalName <username>@<domain.com> -ShowProgress $true
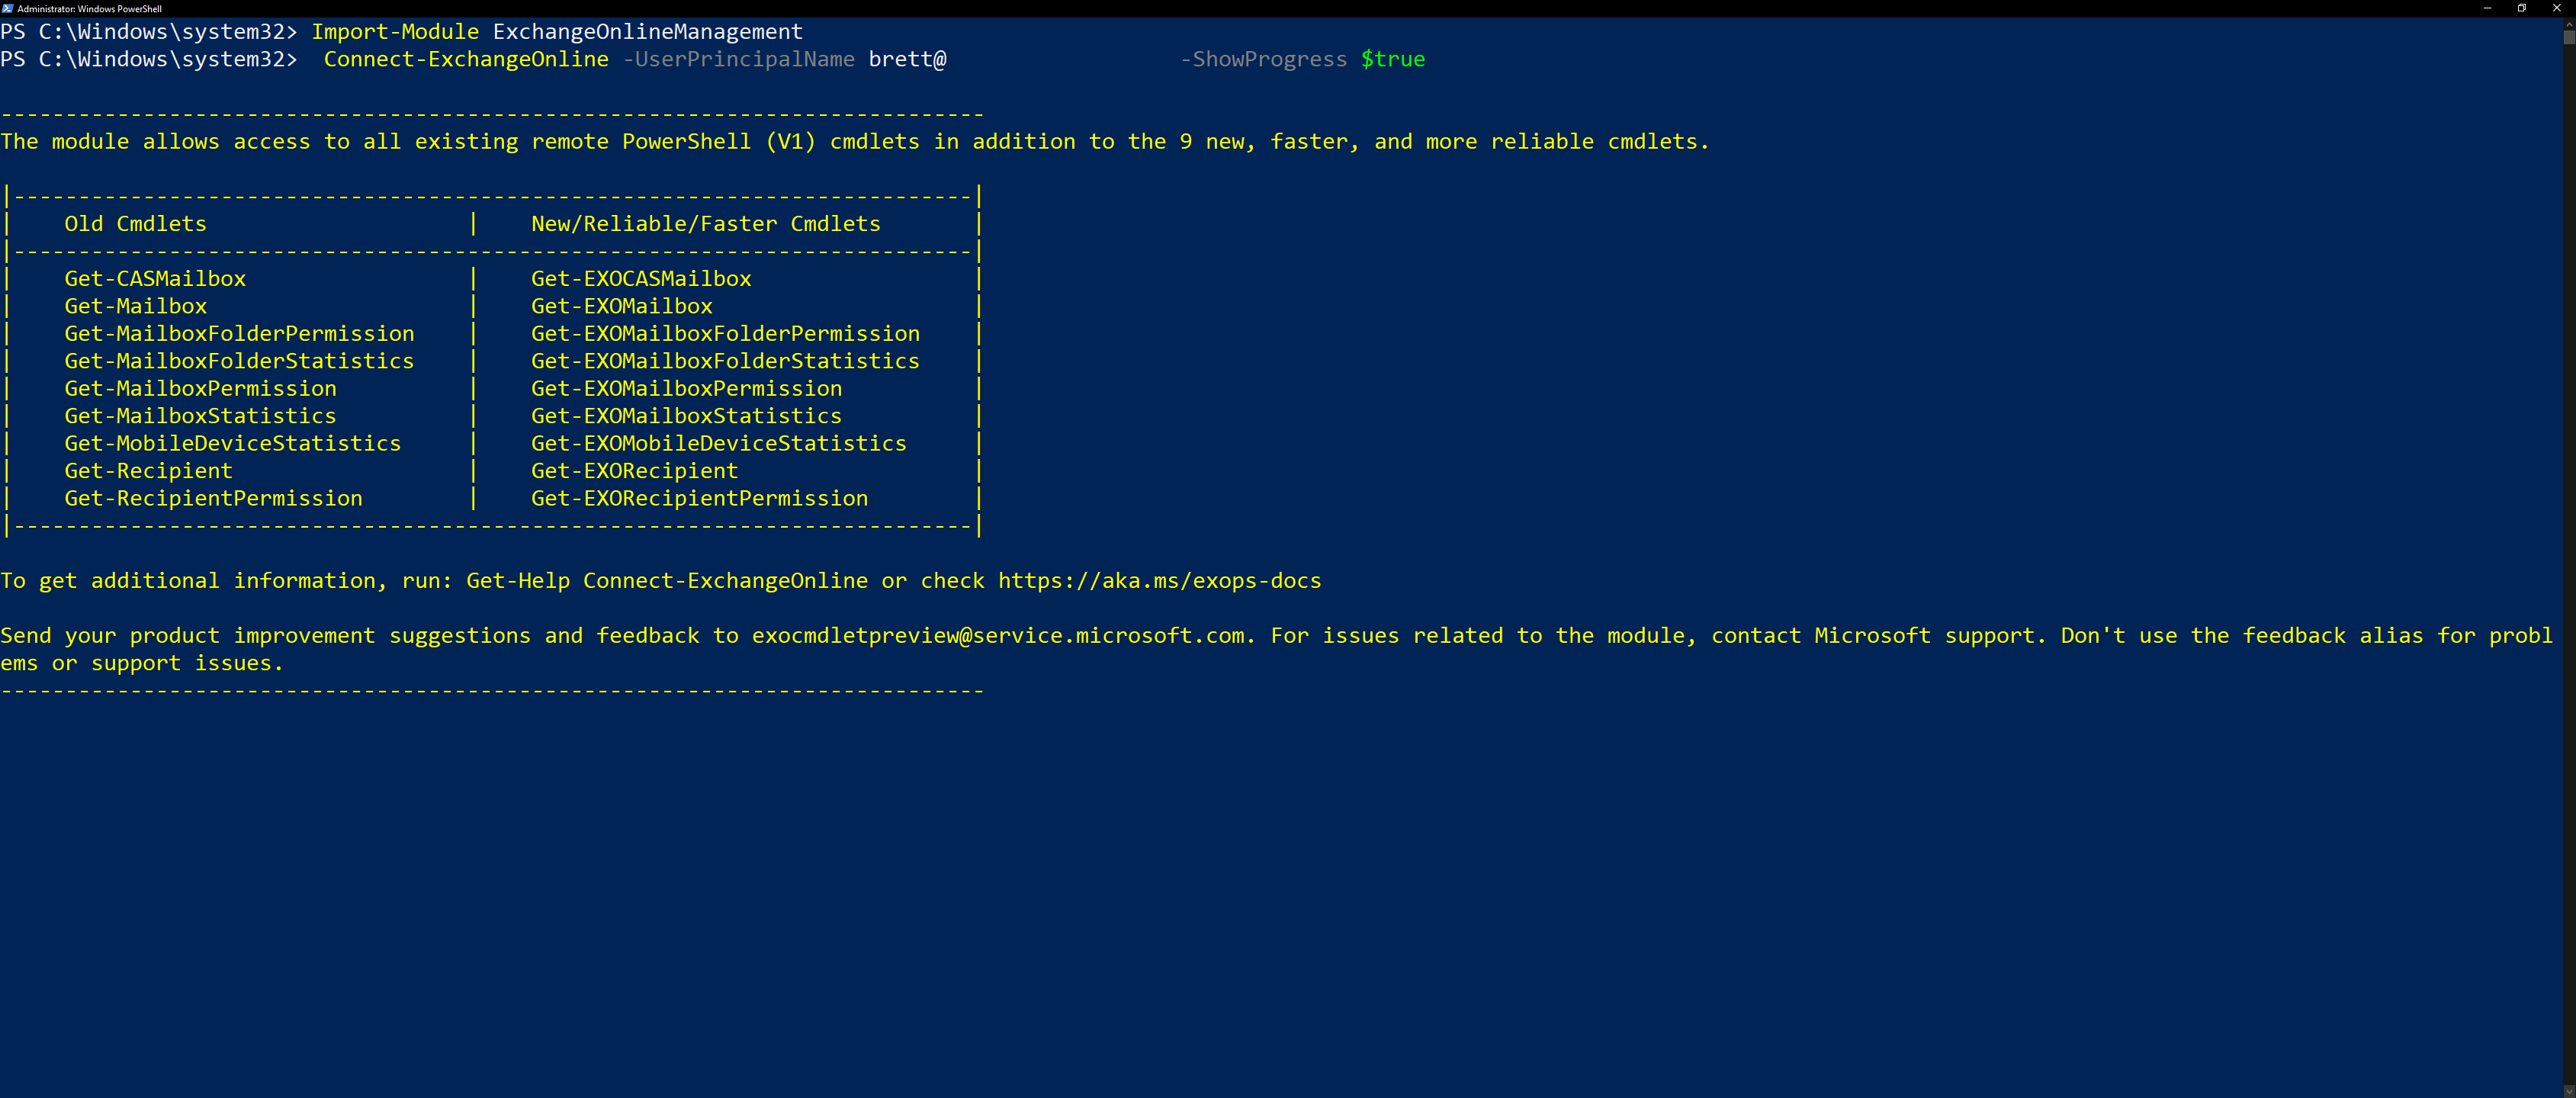
This will pop up a window to sign into your Exchange Account.
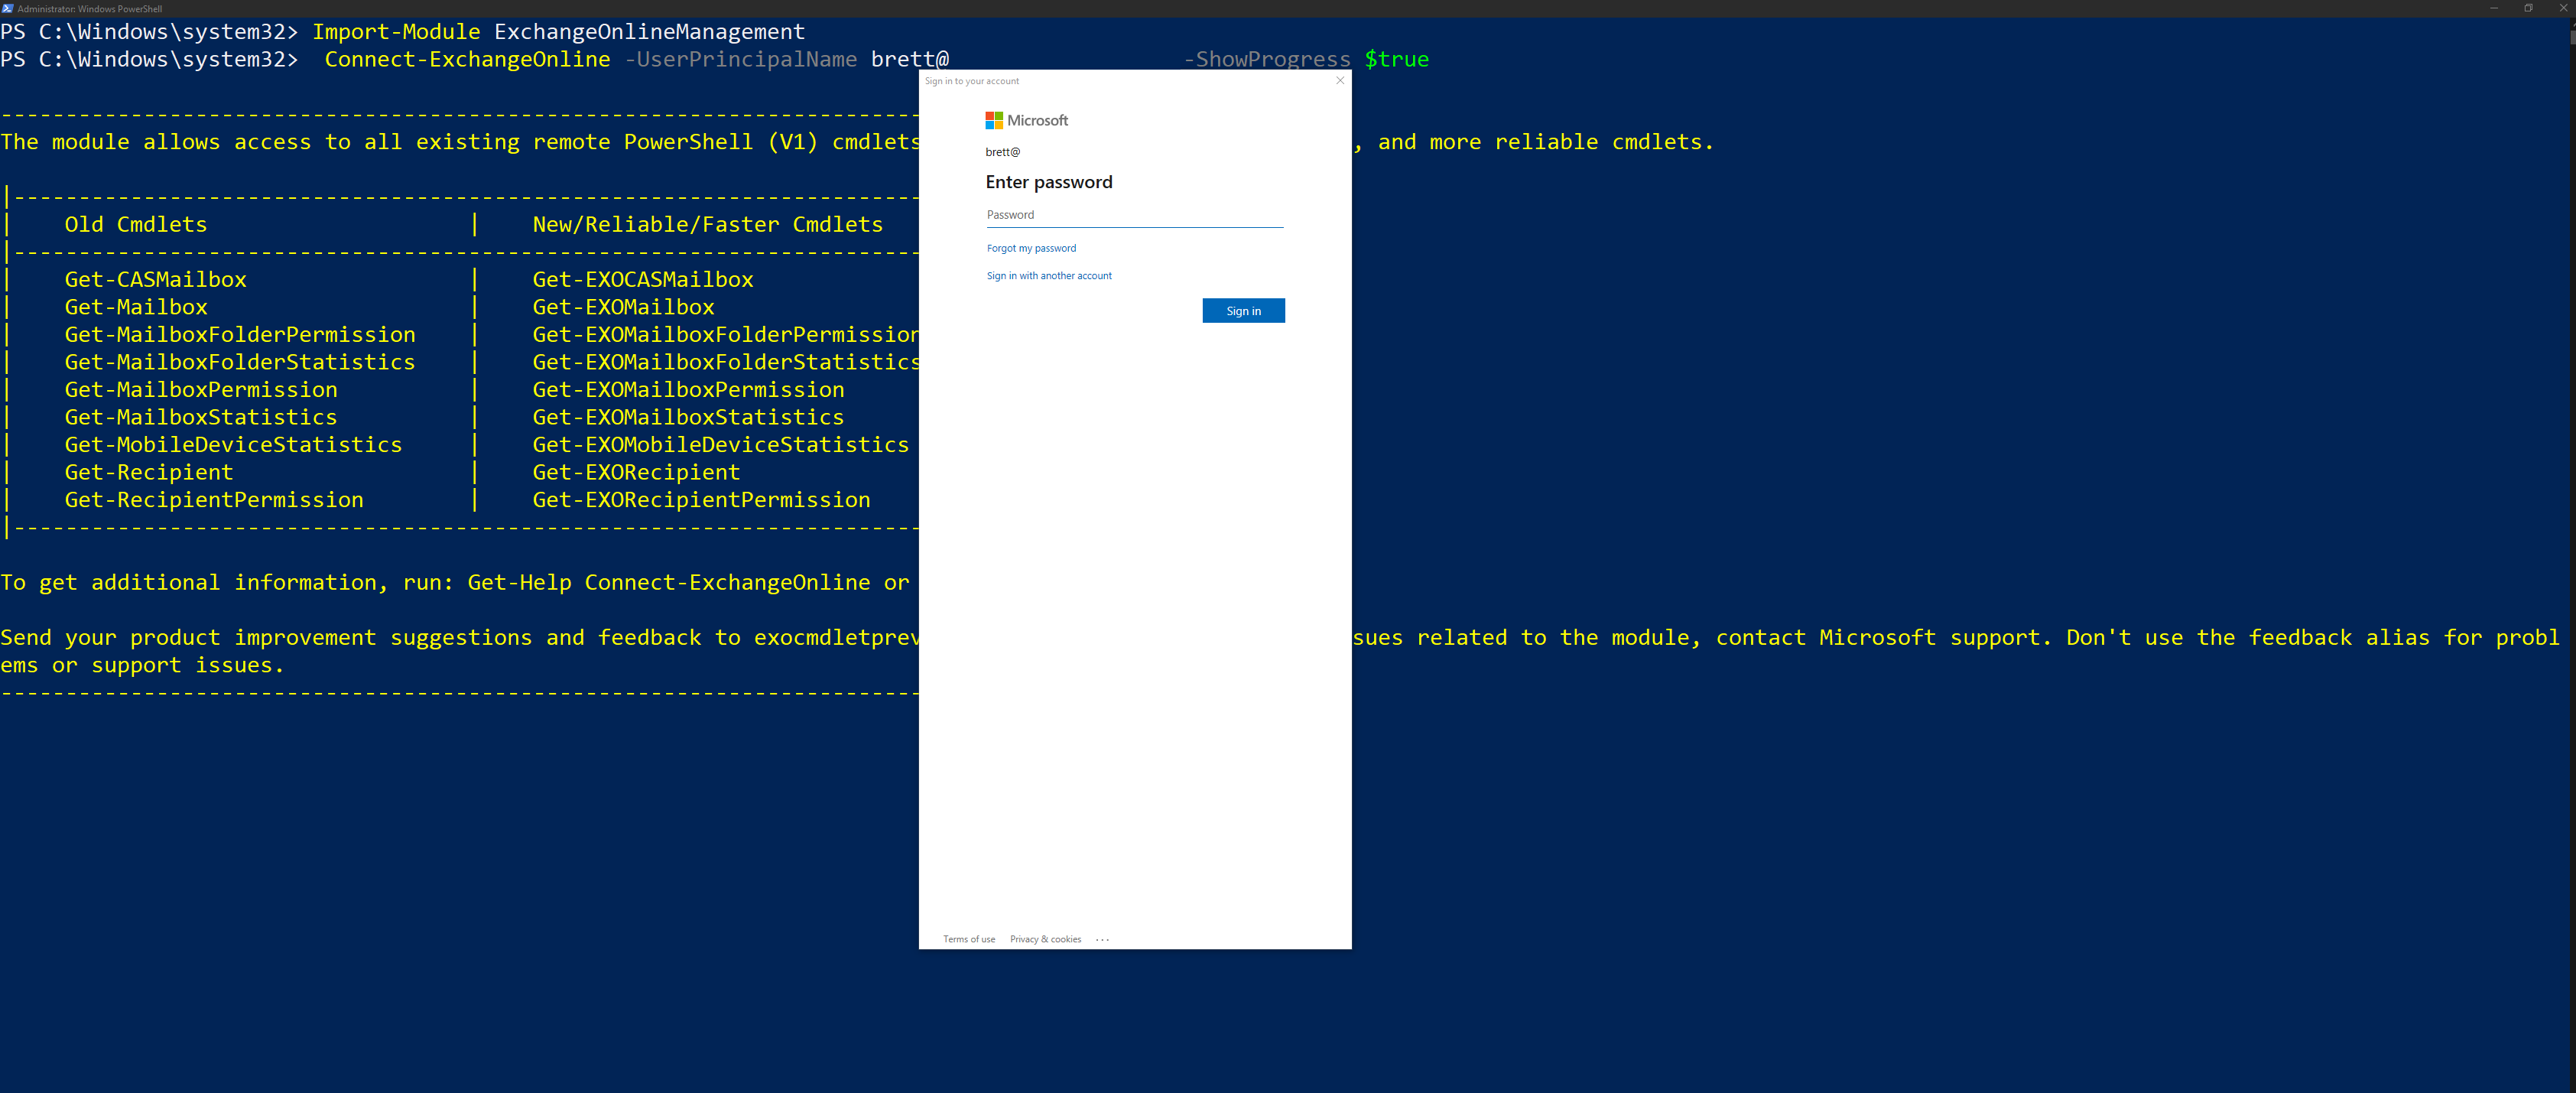
Finally
With all that done it is time to run the command to enable Plus Alias for the organization.
Set-OrganizationConfig -AllowPlusAddressInRecipients $true
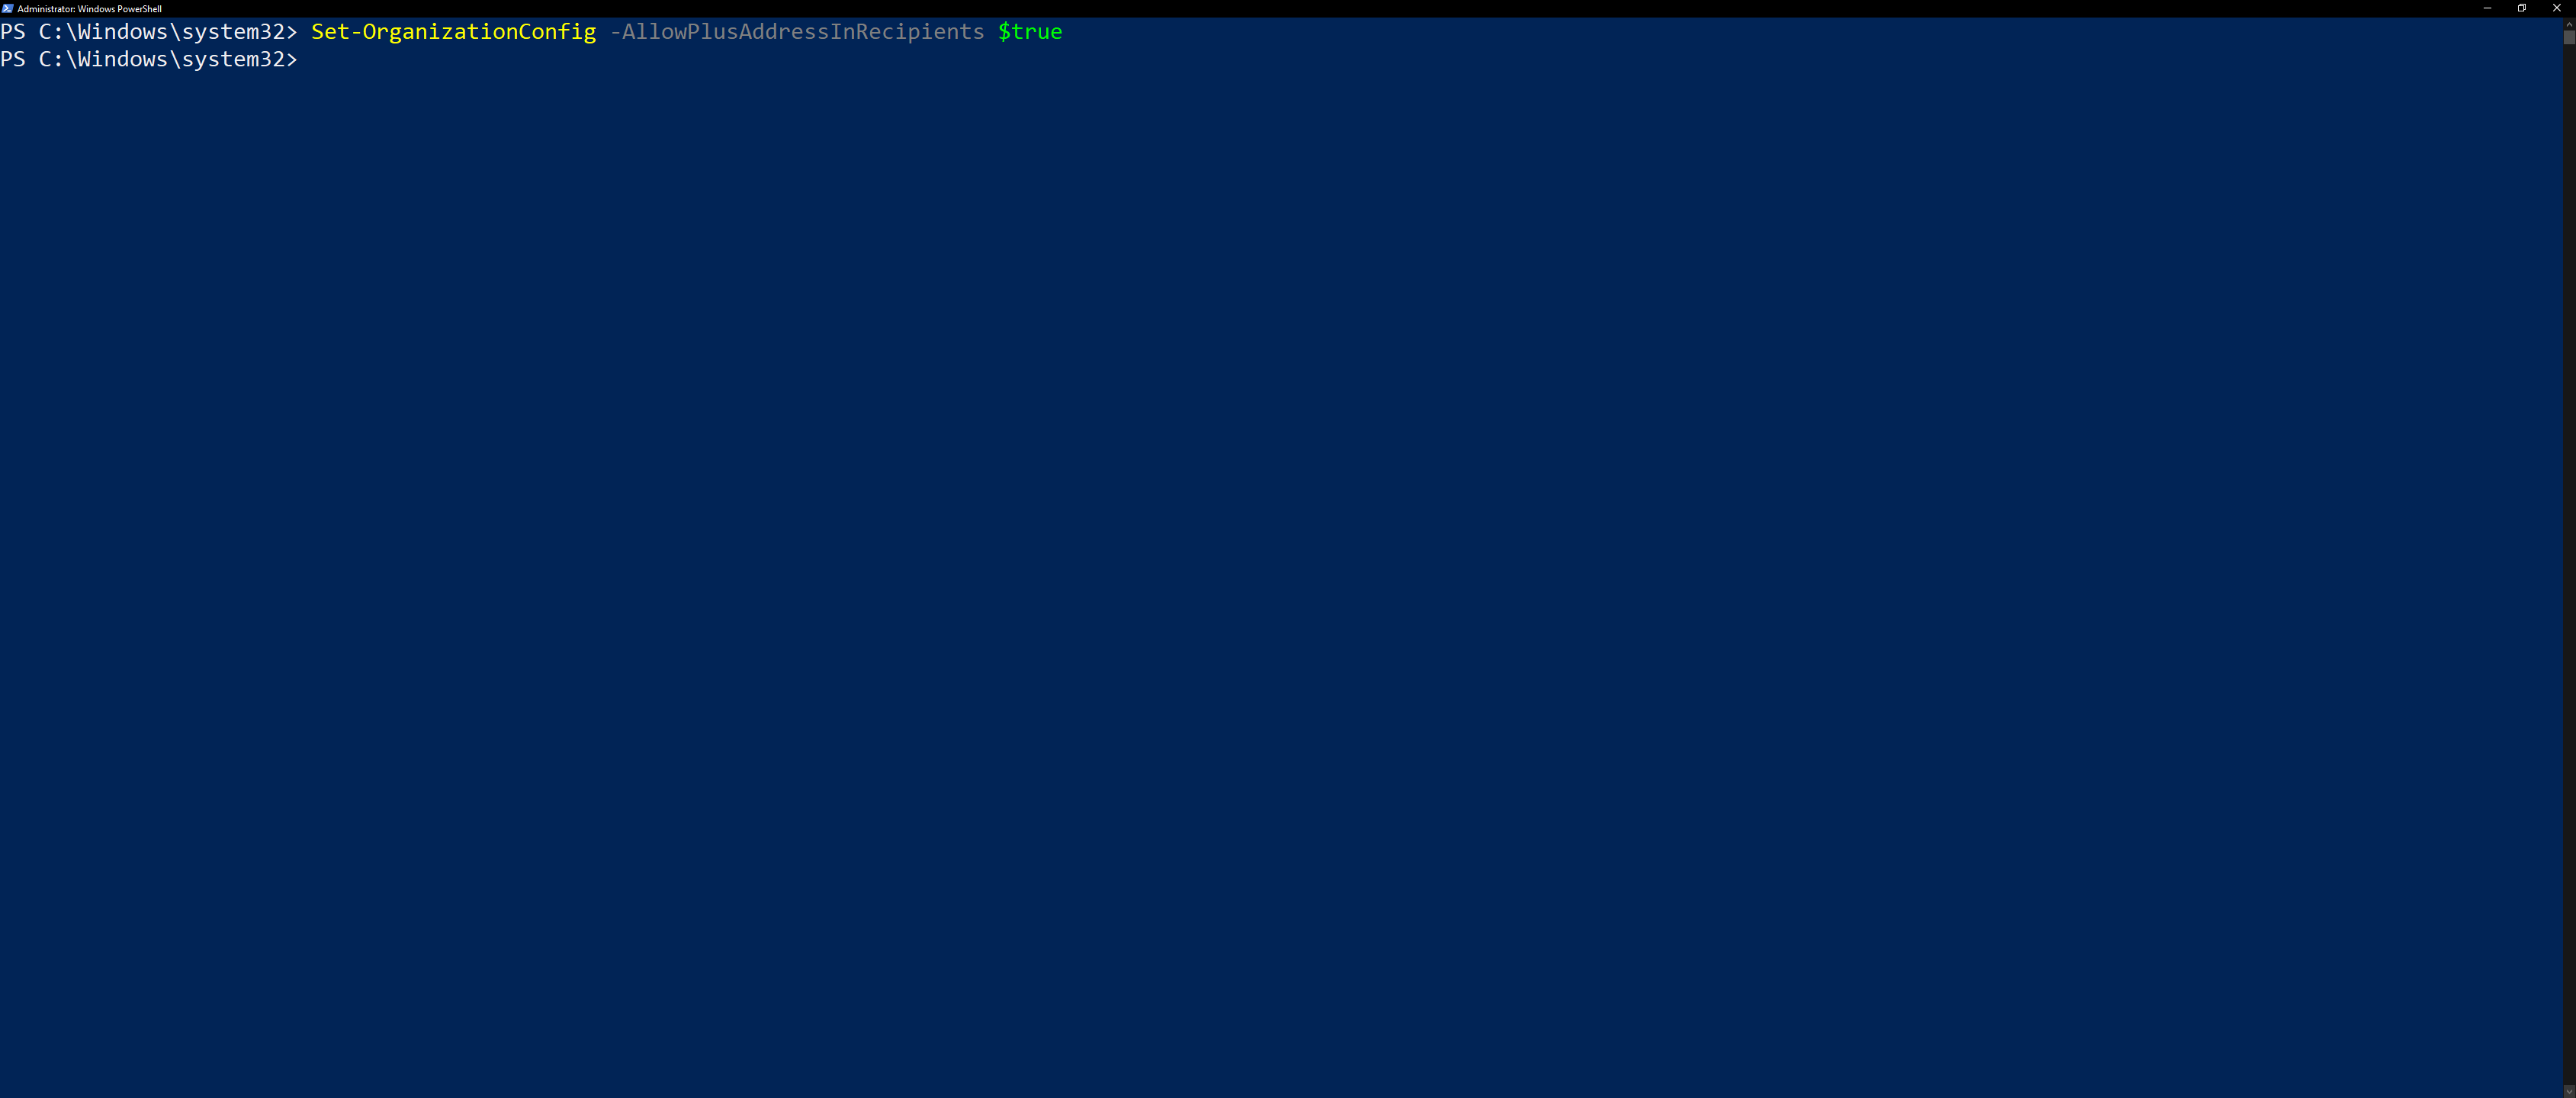
Rather anticlimatic at this point....
Clean up
The last thing I did was change the ExecutionPolicy back to restricted as I won't be needing it again.
Set-ExecutionPolicy -ExecutionPolicy Restricted
That’s it for now.
Remember to sign up for The Weekly Stand-Up! and you can get updated with any latest information we have on WIPDeveloper.com.