Quick Look @ Angular Part II - Add a Component
Brett M. Nelson - Monday, February 20, 2017
Last Time we used the Angular-CLI to make a starter app and as impresive mediocre as it was I thought we could create a TODO app. Because what good is a single page application framework if you can't use it to make a TODO app?
We begin where we left off Add a Model for task in my model folder:
src/app/models/task.ts
export class Task{ title:string; complete:boolean; description:string; }
Now, create a component to show all the tasks with the cli using the generate command:
Create TaskListComponent
ng g component task-list
docs at https://github.com/angular/angular-cli#generating-components-directives-pipes-and-services
This command generated a new folder named task-list with 4 files:
- task-list.component.css
- task-list.component.html
- task-list.component.spec.ts
- task-list.component.ts
task-list.component.css
This is the component level css files
this starts out empty.
task-list.component.html
This is the component html template. the html can also be placed in the TypeScript or JavaScript file.
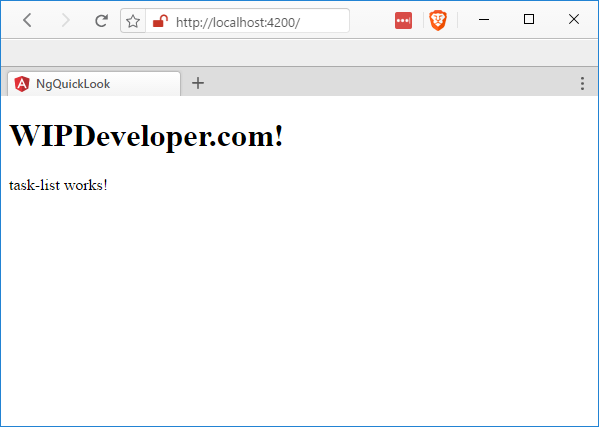
task-list works!
task-list.component.spec.ts
This is the component test class
/* tslint:disable:no-unused-variable */ import { async, ComponentFixture, TestBed } from '@angular/core/testing'; import { By } from '@angular/platform-browser'; import { DebugElement } from '@angular/core';
import { TaskListComponent } from './task-list.component';
describe('TaskListComponent', () => {
let component: TaskListComponent;
let fixture: ComponentFixture
beforeEach(async(() => { TestBed.configureTestingModule({ declarations: [ TaskListComponent ] }) .compileComponents(); }));
beforeEach(() => { fixture = TestBed.createComponent(TaskListComponent); component = fixture.componentInstance; fixture.detectChanges(); });
it('should create', () => { expect(component).toBeTruthy(); }); });
task-list.component.ts
import { Component, OnInit } from '@angular/core';
@Component({ selector: 'app-task-list', templateUrl: './task-list.component.html', styleUrls: ['./task-list.component.css'] }) export class TaskListComponent implements OnInit {
constructor() { }
ngOnInit() { }
}
Now lets add out task-list components to our app. The CLI already added TaskListComponent to our declarations in app.module.ts so we should just need to place our module in the markup.
In src/app/app.component.html add <app-task-list></app-task-list> bellow <router-outlet></router-outlet>.
app.component.html Updated
Quick Look @ Angular Part II - Add a Component
If you have the page open and are using ng serve it should update to show your changes.
Used TaskListComponent

This isn't too exciting yet but lets add a few things to our src/app/task-list/task-list.component.ts:
- import our
src/app/models/task.tsinto ourTaskListComponent - add a collection of
Task's to theTaskListComponentclass as a property - in the
ngInInit()method lets prepopulate our newtasksarray with at least one value
Updated task-list.component.ts
import { Component, OnInit } from '@angular/core'; import { Task } from '../models/task'; // <= this is new
@Component({ selector: 'app-task-list', templateUrl: './task-list.component.html', styleUrls: ['./task-list.component.css'] }) export class TaskListComponent implements OnInit {
tasks: Task[]; // <= this is new
constructor() { }
ngOnInit() { this.tasks = [ // <= this is new { // <= this is new "title": "First Item", // <= this is new "complete": true, // <= this is new "description": "first task to do" // <= this is new } // <= this is new ]; // <= this is new }
}
Now lets display our brand new list. In src/app/task-list/task-list.component.html lets replace what was there originally with this:
Updated task-list.component.html
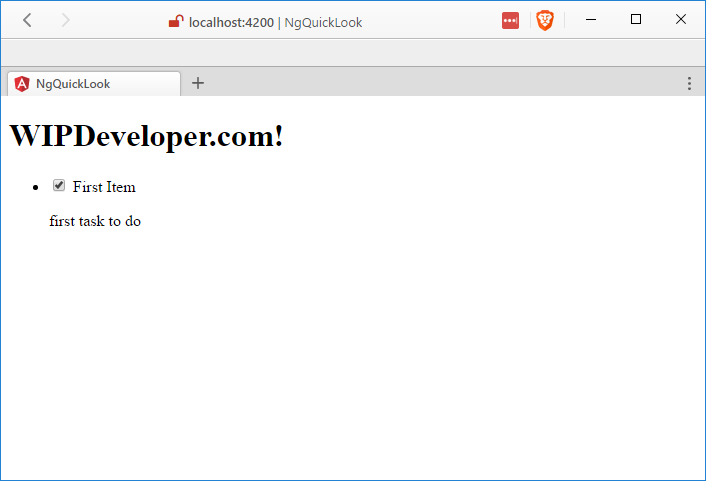
Here you can see we have a unordered list that contains a <li> that we use *ngFor on to repeat over the items of the tasks collection. Each of these <li>'s contains a <label> with a checkbox to represent the complete on each task and the title of the task, there's also a <p> with the description.
Showing tasks

Lets add some styling in the src/app/task-list/task-list.component.css
Updated task-list.component.css
label{ color:red; }
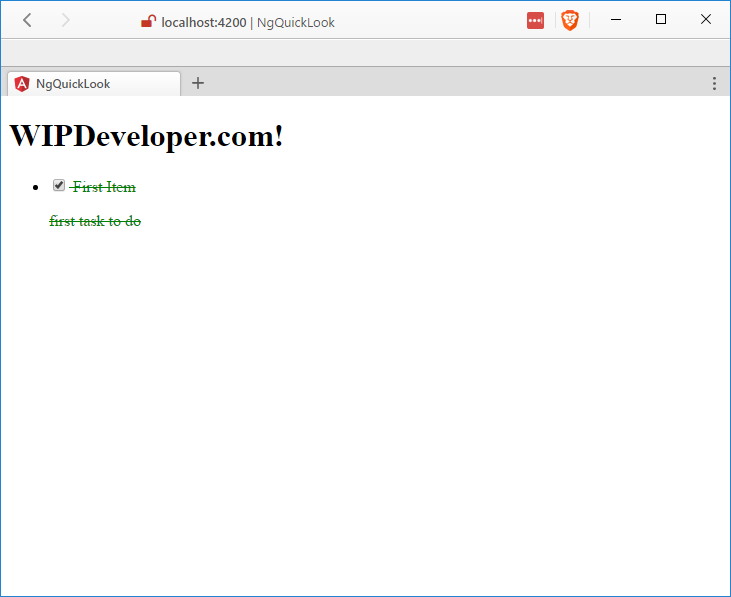
This is pretty straight forward, all the <labels> will be red and this makes sense for our incomplete tasks but lets try an make our completed tasks a nice soothing green. Lets add 2 new selectors for when the <div> has a class of complete:
Updated task-list.component.css
div.complete > label, div.complete > p{ color: green; text-decoration: line-through; }
Now, when we first load the page it should look more like this:
Showing tasks Complete

Code
Code can be found at Github/BrettMN/quick-look
More Interesting?
This is a little better than we left off with last time but lets see what else we could add. What feature do you think should be added next? Let me know by leaving a comment below or emailing [email protected].