Salesforce DX - Setup Jenkins - Jenkinsfile
Brett M. Nelson - Tuesday, June 20, 2017
In Salesforce DX – Setup Jenkins we set up Jenkins to pull from our Github repository. It really didn't do anything else since there was no Jenkinsfile to explain to Jenkins what to do. Lets provide a remedy for that now. But first...
Jenkinsfile... wha?
When Jenkins 2.0 was released they introduced this concept of "Pipeline as Code". It was a new way to configure a build pipeline for Jenkins. All described in a human-editable file called a Jenkinsfile. The Jenkinsfile was defined in the repository that was to be built. Since we used the default setup it was looking for a file at the root called Jenkinsfile and since we didn't add one yet, SURPRISE! Nothing happened.
If you used Jenkins before version 2.0 was release build setup were configured manually. If you had changes the only way to track them was if the user made notes. Should people make notes when updating configurations? Yes! Do they? Not always. Pipeline as Code means all changes are now tracked by the same source control that tracks code changes.
All that to say, We need a Jenkinsfile.
Jenkinsfile Setup
In our project let's add a new file named Jenkinsfile at the root. for our starter Jenkinsfile we are going to copy the one from forcedotcom/sfdx-dreamhouse and then adjust it to suit our needs to let's go get the contents of it and add it to our file. Now let's look at what we have.
Import JsonSlurperClassic
#!groovy import groovy.json.JsonSlurperClassic
For lines 1 and 2 we import JsonSlurperClassic so we can use it to parse json responses later on.
Open node
node {
Close node
}
At Line 3 we open a node statement that we close on line 64. What the node statement does is create the work space and allocate the executor for the build to occur. If we didn't do this we couldn't build anything.
Define Variables
def BUILD_NUMBER=env.BUILD_NUMBER def RUN_ARTIFACT_DIR="tests/${BUILD_NUMBER}" def SFDC_USERNAME
def HUB_ORG=env.HUB_ORG_DH def SFDC_HOST = env.SFDC_HOST_DH def JWT_KEY_CRED_ID = env.JWT_CRED_ID_DH def CONNECTED_APP_CONSUMER_KEY=env.CONNECTED_APP_CONSUMER_KEY_DH
def toolbelt = tool 'toolbelt'
For lines 5 through 14 we define some variables to use later on. Most of the values are set from the environment. Line 14 we define the toolbelt this is the SFDX CLI . Since we haven't set up any of these environment variables or the access to the SFDX CLI we will have to circle back to Jenkins ot set these up next time.
Checkout Source
stage('checkout source') { // when running in multi-branch job, one must issue this command checkout scm }
Line 16 we have a stage directive named "checkout source`. During this stage we will get the code for the build. Using the checkout keyword will checkout the code from the source control specified in the Jenkins setup. The scm variable is that tells the checkout command what reversion triggered the build.
OpenwithCredentials
withCredentials([file(credentialsId: JWT_KEY_CRED_ID, variable: 'jwt_key_file')]) {
Close withCredentials
}
At line 21 we open a withCredentials snippet. This is provided by the Credentials Binding Plugin. The credentials we use are provided by a combination of the variable we defined earlier and the secret file we saved last time. This will prevent any of our "secrets" from showing up in the building log.
Create Scratch Org
stage('Create Scratch Org') {
rc = sh returnStatus: true, script: "${toolbelt}/sfdx force:auth:jwt:grant --clientid ${CONNECTED_APP_CONSUMER_KEY} --username ${HUB_ORG} --jwtkeyfile ${jwt_key_file} --setdefaultdevhubusername --instanceurl ${SFDC_HOST}"
if (rc != 0) { error 'hub org authorization failed' }

// need to pull out assigned username
rmsg = sh returnStdout: true, script: "${toolbelt}/sfdx force:org:create --definitionfile config/workspace-scratch-def.json --json --setdefaultusername"
printf rmsg
def jsonSlurper = new JsonSlurperClassic()
def robj = jsonSlurper.parseText(rmsg)
if (robj.status != "ok") { error 'org creation failed: ' + robj.message }
SFDC_USERNAME=robj.username
robj = null
}
Here we are creating a scratch org. At line 24 we run a shell command and get the return status of it. As long as the return status is 0 everything is ok. Line 28 we use a second shell command to call the same sfdx force:org:create that we have used in the past but with the added parameter of --json. The --json parameter tells sfdx to format the results as json. Those results are parse on line 31 with an instance of the JsonSlurperClassic we imported all the way back on line 2. As long as the robj.status is ok on line 32 we save teh username that was returns in the variable that was defined on line 7 before nulling the robj out.
Push to Test Org
stage('Push To Test Org') { rc = sh returnStatus: true, script: "${toolbelt}/sfdx force:source:push --targetusername ${SFDC_USERNAME}" if (rc != 0) { error 'push failed' } // assign permset // rc = sh returnStatus: true, script: "${toolbelt}/sfdx force:user:permset:assign --targetusername ${SFDC_USERNAME} --permsetname WIPDeveloper" // if (rc != 0) { // error 'permset:assign failed' // } }
With the Push to Test Org stage we push the source to the scratch org we just created by specifying the --targetusername as what was saved on line 33. Provided there are no errors we assign a permission set to the user that was created at line 33.
I don't have any permission sets in my sample code yet so I have this commented out.
Run Tests
stage('Run Apex Test') { sh "mkdir -p ${RUN_ARTIFACT_DIR}" timeout(time: 120, unit: 'SECONDS') { rc = sh returnStatus: true, script: "${toolbelt}/sfdx force:apex:test:run --testlevel RunLocalTests --outputdir ${RUN_ARTIFACT_DIR} --resultformat tap --targetusername ${SFDC_USERNAME}" if (rc != 0) { error 'apex test run failed' } } }
This may surprise you but with the Run Apex Test stage we will run the Apex Tests. Surprise! More seriously though at line 51 we create a directory with the RUN_ARTIFACT_DIR that was defined and assigned at line 6. At line 52 we use the timeout option to specify a timeout period of 120 seconds. If it takes longer then the time specified Jenkins will abort the Pipeline.
Collect Results
stage('collect results') { junit keepLongStdio: true, testResults: 'tests/**/*-junit.xml' }
With the Collect Results stage we use the junit plugin to collect the results.
Commit, Push and Nothing
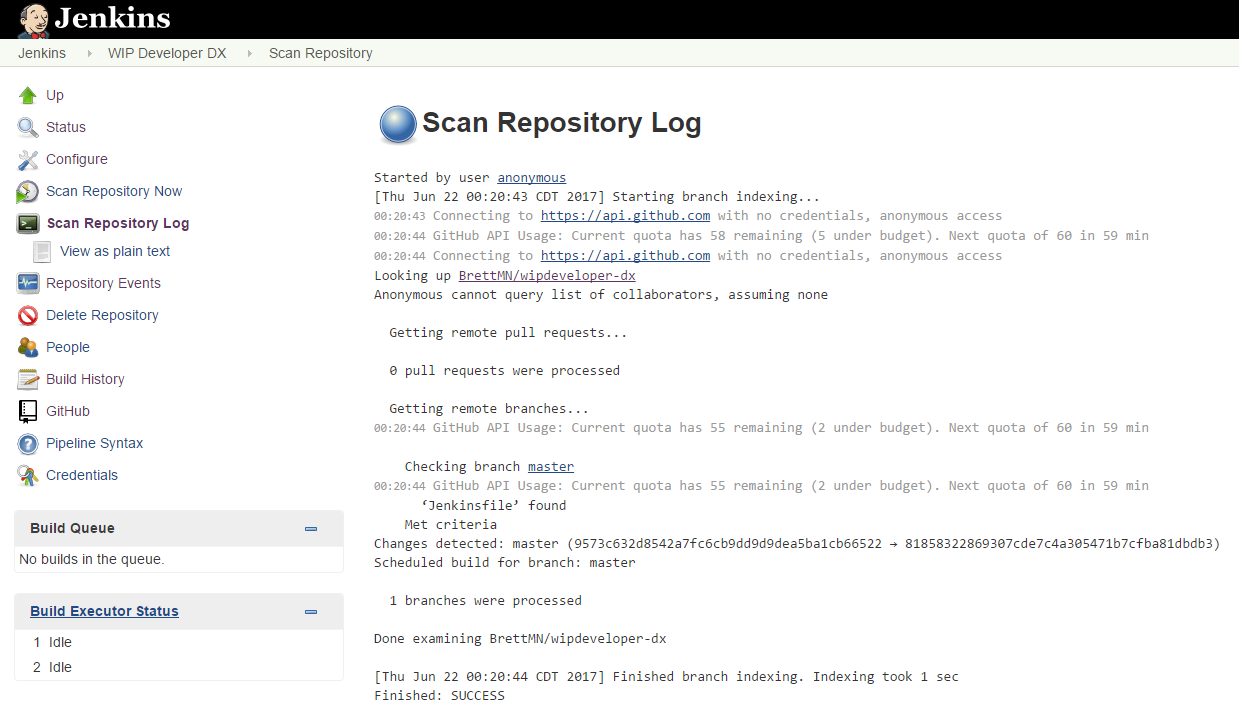
With our Jenkins file defined let's commit it to the repository and push it to the origin. Don't get too excited though as we haven't set up those environment variables yet so your Jenkins may detect the change it will not build successfully yet.
Conclusion
We are almost ready for a successful build, one might way we are so close yet so var away. Get it? Let me know by leaving a comment below, emailing brett@wipdeveloper.com or following and yelling at me on Twitter/BrettMN.