Salesforce Mobile SDK and Ionic – Delete Object
Brett M. Nelson - Tuesday, August 15, 2017
Since we can now create Contacts and do it in style we may want to add in the ability to delete them as well.
Update Contacts Service
Like all our interactions with Salesforce we will need to update our Contacts Service to provide the bridge between our app and the Salesforce allowing us to perform the action we are needing. In this case, since we want to delete a Contact, we will have to make the call with forcejs to the DataService to del a contact object of the specified Id.
deleteContact Method
deleteContact(Id: string) { let oauth = OAuth.createInstance();
return oauth.login() .then(oauthResult => { let service = DataService.createInstance(oauthResult);
  return service.del('Contact', Id);
});
}
I used the ES6 version of ForceJS for the delete method since it worked and required less typing for handling the callback but I am ready to switch it out with the ES5 version if there are any issues.
Update Contact Details
Now we just need to decided where the delete button should be. I'm going to put it on the Contact Details page so that users will have to navigate to the contact before attempting to delete it.
I'm going to add a Delete button on contact-details.html just after the Edit button. I'll give it a color of danger so it stands out as a warning and have the click handler call a method named deleteContact that passes in no paramters.
Delete Button
<button ion-button color="danger" (click)="deleteContact()">Delete
With the button in place we should create that method that it's going to call.
In your contact-details.ts file let's add a method named deleteContact that has no parameters.
Now we are going to use a confirmation alert to verify the user meant to press Delete so we will need to add AlertController as an import from ionic-angular.
Updated Import
import { IonicPage, NavController, NavParams, ModalController, AlertController } from 'ionic-angular';
And the AlertController will need to be a parameter of the constructor.
Updated Constructor
constructor( public navCtrl: NavController, public navParams: NavParams, public modalCtrl: ModalController, private service: ContactsServiceProvider, public alertCtrl: AlertController ) { }
Now with an reference of the AlertController available we can use it to create andd display our confirmation pop up.
To do that we will use the this.alertCtrl.create method to create an alert. This method takes an object as an argument so we will use that object to provide a title, message, and the buttons. The title and message are both strings but I'll be a little fancy and use a template literal so that I can place the this.contact.Name in the message without using concatenation.
The buttons will be an array of objects, each representing a button. Those objects will have a text property for the words that we want to display, and a handler for what we want to have happen when the button is used.
deleteContact Method
deleteContact() { let confirmDelete = this.alertCtrl.create({ title: `Delete Contact?`, message: `Are you sure you want to delete ${this.contact.Name}?`, buttons: [ { text: 'Yes', handler: () => { this.service.deleteContact(this.contact.Id) .then(() => {
          confirmDelete.dismiss();
        })
    }
  },
  {
    text: 'No',
    handler: () => {
      confirmDelete.dismiss();
    }
  }
\]
}); confirmDelete.present(); }
If you look closely you will see that both handlers call dismiss on the confirmDelete object. The main difference is that for the Yes button it's in the promise resolution of the call to service.deleteContact.
Of course the last thing the deleteContact method does is present the alert.
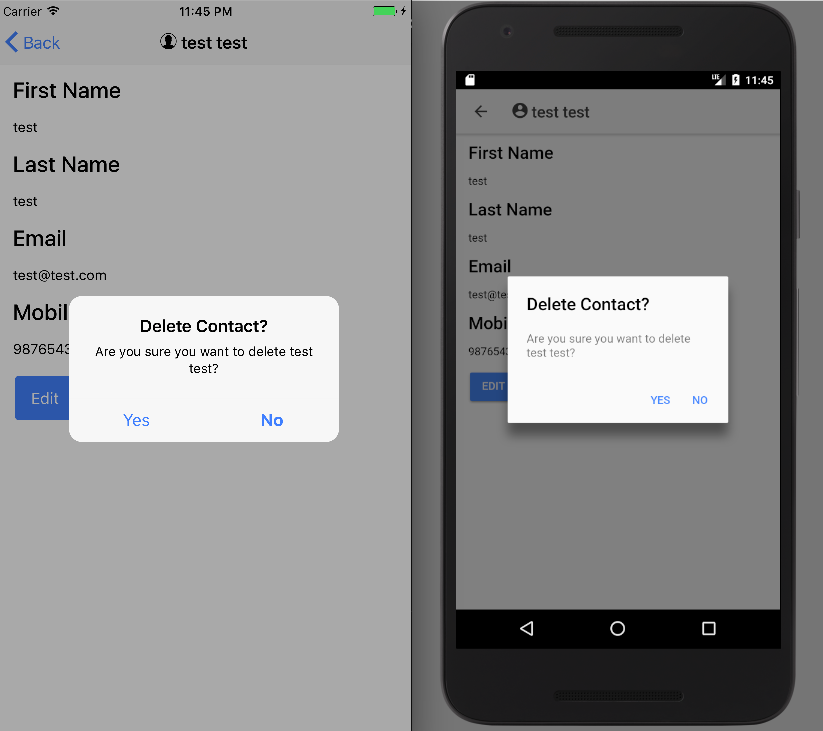
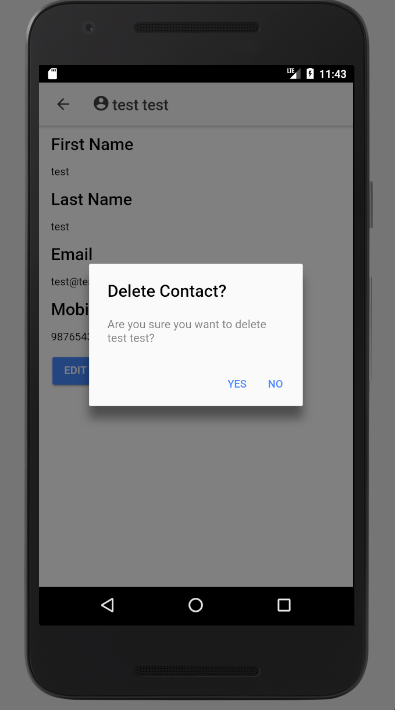
Show the Alert - Android

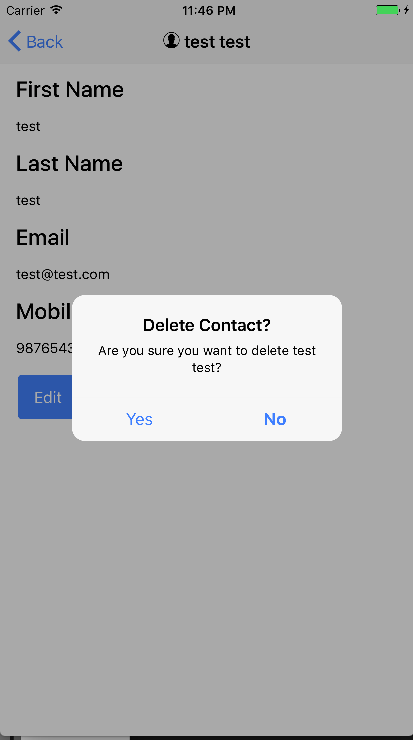
Show the Alert - iOS

Conclusion
With this done we don’t have to be sooo ashamed of how our edit-contact modal appears.
Don’t forget to sign up for The Weekly Stand-Up! to receive free the WIP Developer.com weekly newsletter every Sunday!
Looking for the code and want to follow along? Find it on GitHub.com/BrettMN/salesforce-sdk-mobile-with-ionic-starter