Visualforce and Angular - Add a Component and Service
Brett M. Nelson - Thursday, April 27, 2017
We have an Angular app running in Salesforce but so far there isn't much too it. Lets take some time and add a component and a service.
Make a Component
First we should make a component. I'm going to call mine contacts and I will eventually use it to display a list of contacts. Enter the following in terminal:
Make a Component for contacts
ng generate component contacts
You should see the following output:
contacts Component Created
installing component create src\app\contacts\contacts.component.css create src\app\contacts\contacts.component.html create src\app\contacts\contacts.component.spec.ts create src\app\contacts\contacts.component.ts update src\app\app.module.ts
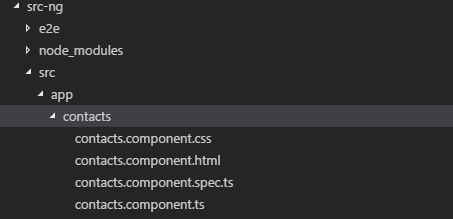
In you folders view you should see a new folder in you src-ng/src/app folder called contacts with the following 4 files:
- contacts.component.css
- contacts.component.html
- contacts.component.spec.ts
- contacts.component.ts
New contacts Component Folder
Lets take a look at each one:
contacts.component.css
This is the component level css files.
this starts out empty.
contacts.component.html
This is the component html template. The html can also be placed in the TypeScript or JavaScript file.
contacts works!
contacts.component.spec.ts
This is the component test class.
import { async, ComponentFixture, TestBed } from '@angular/core/testing';
import { ContactsComponent } from './contacts.component';
describe('ContactsComponent', () => {
let component: ContactsComponent;
let fixture: ComponentFixture
beforeEach(async(() => { TestBed.configureTestingModule({ declarations: [ ContactsComponent ] }) .compileComponents(); }));
beforeEach(() => { fixture = TestBed.createComponent(ContactsComponent); component = fixture.componentInstance; fixture.detectChanges(); });
it('should create', () => { expect(component).toBeTruthy(); }); });
contacts.component.ts
This is the controller for the component. Think of it as where the logic that is specific to the controller should go.
import { Component, OnInit } from '@angular/core';
@Component({ selector: 'app-contacts', templateUrl: './contacts.component.html', styleUrls: ['./contacts.component.css'] }) export class ContactsComponent implements OnInit {
private contacts;
constructor() { }
ngOnInit() { }
}
Now let's add our component to the page by using the selector that is defined in the contacts.component.ts as app-contacts to add a tag to our app.component.html.
Updated app.component.html
Visualforce and Angular - Add a Component and Service
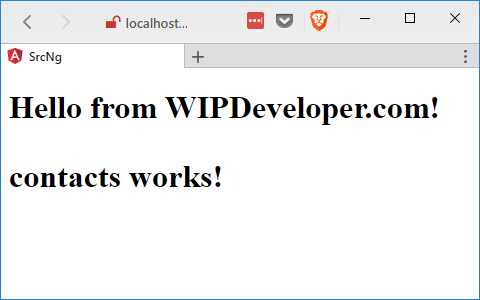
It's not much but if you run ng serve --open you should see the following:
App with contacts Component
Add A Service
Now we are going to need a service so we have one location to call the @RemoteActions from so let's make that now.
Create remote-actions Service
ng generate service services/remote-actions
For the name we included the name of the folder where we want the service to be created.
services/remote-actions Created
installing service create src\app\services\remote-actions.service.spec.ts create src\app\services\remote-actions.service.ts WARNING Service is generated but not provided, it must be provided to be used
And you should now have a folder names services in you src-ng/src/app with the following files:
- remote-actions.service.ts
- remote-actions.service.spec.ts
Let's take a look at these:
remote-actions.service.ts
This is the actual service. We will put logic we want to be shared or it not specific to a single component.
import { Injectable } from '@angular/core';
@Injectable() export class RemoteActionsService {
constructor() {
}
}
remote-actions.service.spec.ts
This is the test specification for the service.
import { TestBed, inject } from '@angular/core/testing';
import { RemoteActionsService } from './remote-actions.service';
describe('RemoteActionsService', () => { beforeEach(() => { TestBed.configureTestingModule({ providers: [RemoteActionsService] }); });
it('should ...', inject([RemoteActionsService], (service: RemoteActionsService) => { expect(service).toBeTruthy(); })); });
Let's add the following line to the service:
Add To remote-actions.service.ts
serviceMessage = "Hello from the Service";
We will use this message to verify we have the service working.
Have to register the service so we can use it.
In your app.module.ts import the RemoteActionsService
Import Statement
import { RemoteActionsService } from './services/remote-actions.service';
Then in the providers array add the RemoteActionsService
Providers
providers: [ RemoteActionsService ],
Now we will inject the service to the contacts.component.ts with the same inject statement as we used on the app.module.ts. We will also pass the RemoteActionsService into the constructor as private with a property name of remoteActions. We also add a property of message with a type of string. The updated class should look like this:
Updated contacts.component.ts
import { Component, OnInit } from '@angular/core'; import {RemoteActionsService} from '../services/remote-actions.service';
@Component({ selector: 'app-contacts', templateUrl: './contacts.component.html', styleUrls: ['./contacts.component.css'] }) export class ContactsComponent implements OnInit {
message:string;
constructor(private remoteActions : RemoteActionsService) { this.message = remoteActions.serviceMessage; }
ngOnInit() { }
}
We will also need to update contacts.component.html to use the new message value:
Updated contacts.component.html
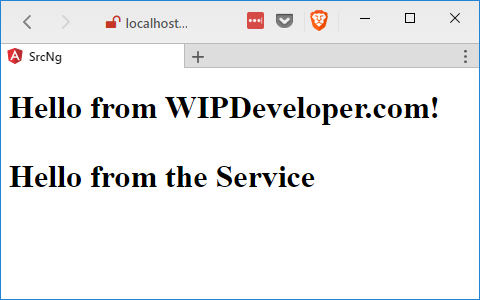
Save it and now you should see your app reload and see the message from the service.
Message from Service!
Side Note: Zone.js Error
I noticed I was getting an error with Zone.js to fix this I installed version 0.8.5 zone.js@0.8.5. If you don't see an error with Zone.js feel free to skip this.
Fix zone.js Error
npm install zone.js@0.8.5
Conclusion
We now have a component and a service in our Angular App. Next time we will call one of our remote actions. Do you have any questions so far? Let me know by leaving a comment below or emailing brett@wipdeveloper.com.