Visualforce and Angular - Two-way Data Flow with Components
Brett M. Nelson - Tuesday, May 23, 2017
Now that we have the beginnings of our component, if you are just joining us please see the last post to get up to speed, let's give it the ability to edit.
Adding Editing
In our input-text.component.html let's add and input between the label and the p tags. It will be of type text and we will use the ngModel to bind the textValue to it.
Add input
<input type="text" [(ngModel)]="textValue" class="form-control" />
I also moved the
col-sm-10style class from theptag to adivthat wraps both theinputand thep.
Now if we save and load this in the browser we might think we are close to done as all we have left is to hide the input when not editing or hide the p when we are editing. This would be an incorrect assessment though.
I have re-added the display for
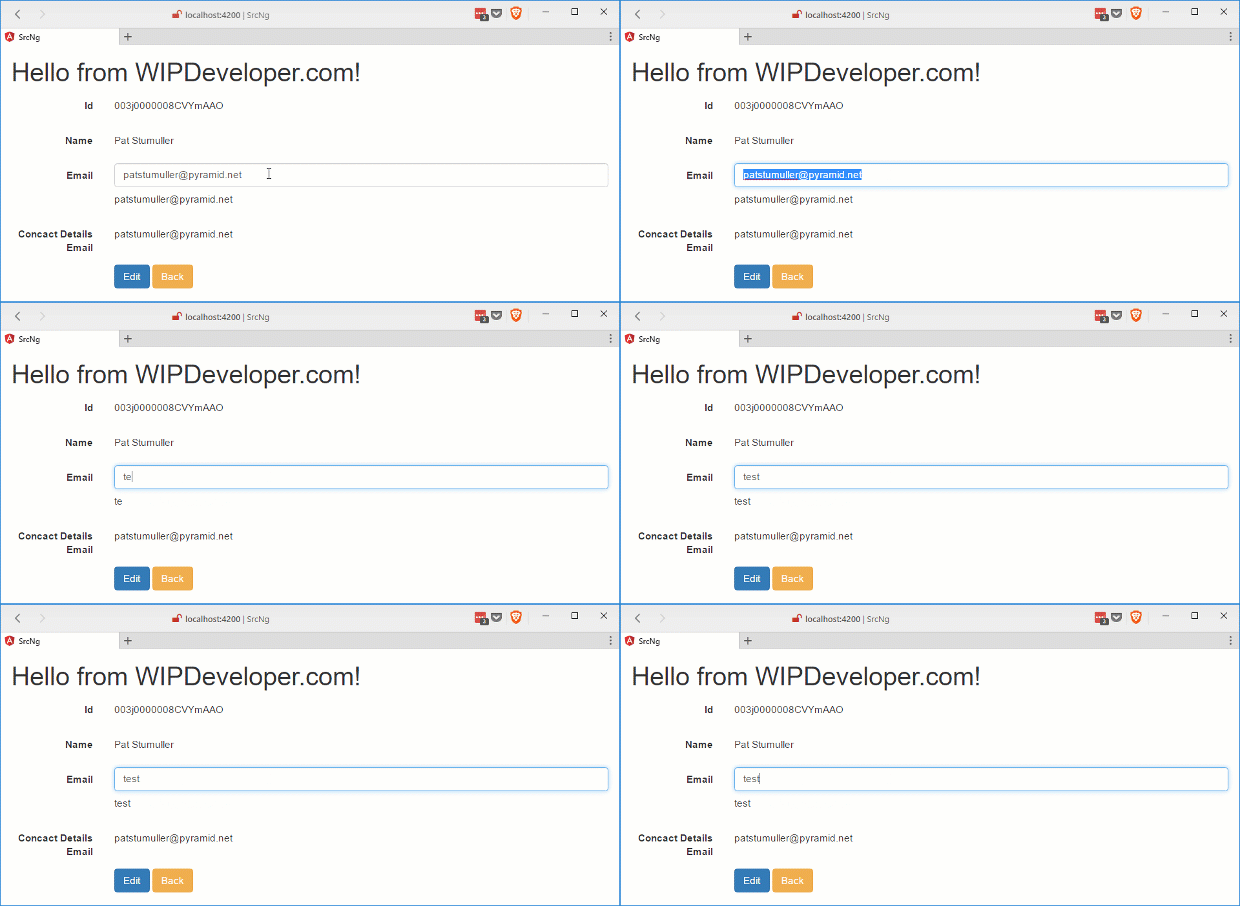
contact-details.component.htmlwith the labelContact Details Emailto see the data flow back to the parent component for this demo to save use the trouble of saving to Salesforce and wondering where the issue is.
Ruh-ro Shaggy

As you can see the changes in the input-text component don't flow back to the contact-details.component.
There are a few reasons this is happening, or I guess you cold say not happening.
Lets take a look at why.
Fix Two-Way Data Flow
Origianly we only bound the textValue with one way data binding syntax that means just the square brackets [] in teh markup. To enable changes to flow back up we will need to add paranethesis () inside the sqaure brackets. This means that textValue will be wrapped with [()] or as the Angular documentation calls it "banana in a box"
So to fix this part of the issue we will need to change contact-details.component.html so that the attribute on app-input-text uses the banana in a box
Update Binding
<app-input-text [label]="'Email'" [(textValue)]="email">
This doesn't fix everything though.
Remember how we had to import the Input decorator for the parameters to be set from the template binding? Well if we want get an output from our component we will need to import the Output decorator and the EventEmitter to emit the changes.
In input-text.component.ts lets update the import to include the Output and EventEmitter, we will also be adding a parameters called textValueChange that will be decorated with the @Output() decorator and we will assign it a new EventEmitter<string>() where it is declared.
The
<string>part of thenew EventEmitter<string>()indicates it is for type string.
We will also need a method to call when the text changes so we can call textValueChange so let's add that as well. I'm going to call mine textUpdated and it will call the textUpdated.emit method with the current value of textValue.
The updated input-text.component.ts should look something like this:
Update input-text.component.ts
import { Component, Input, Output, EventEmitter } from '@angular/core';
@Component({ selector: 'app-input-text2', templateUrl: './input-text2.component.html', styleUrls: ['./input-text2.component.css'] }) export class InputText2Component {
@Input() label:string;
@Input() textValue:string;
@Output() textValueChange = new EventEmitter
constructor() { }
textUpdated(){ this.textValueChange.emit(this.textValue); } }
With all this done we still wont see changes to the email address in the contact-details.component until we bind to the text change event of our input to the textUpdated method.
Update input-text.component.html
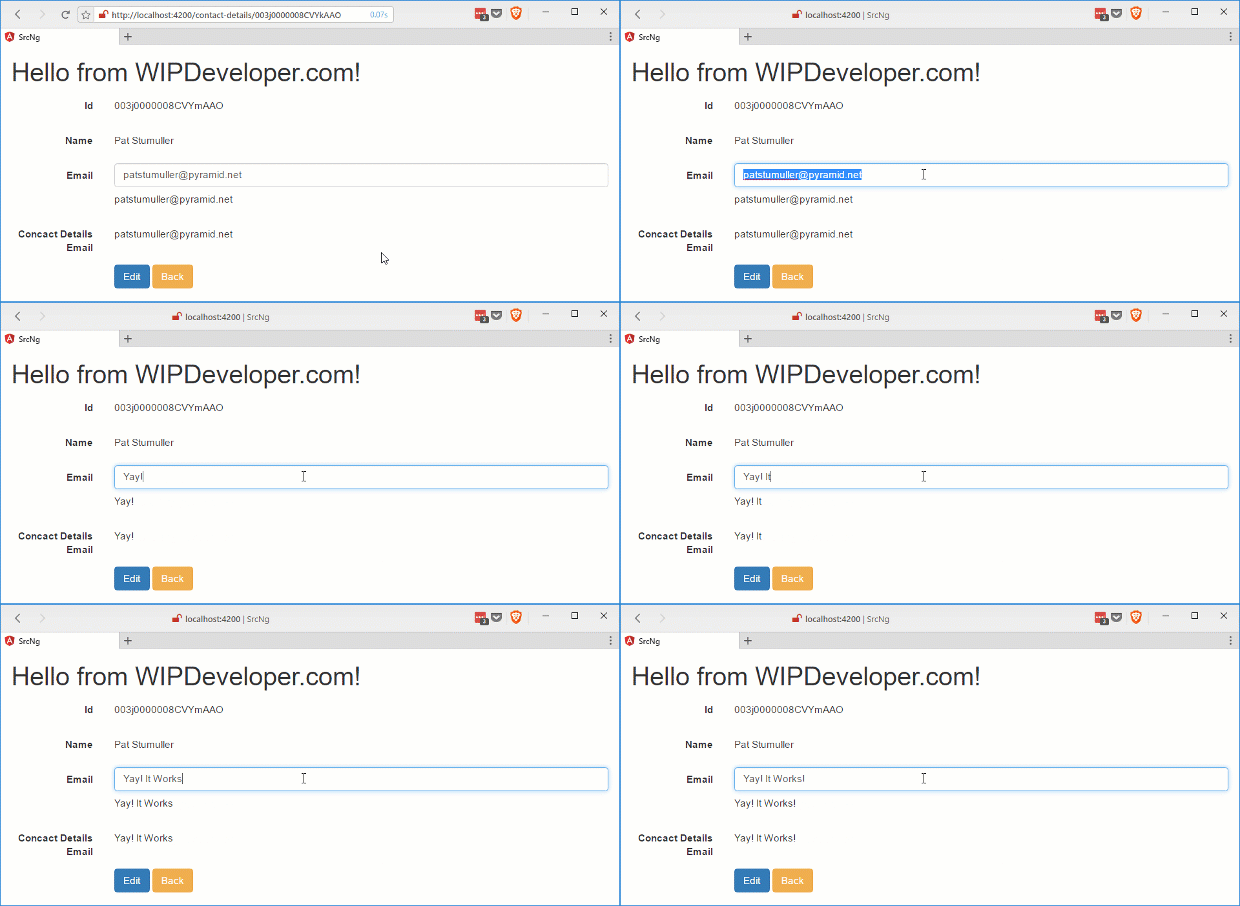
See It In Action
Now we can see changes to the email address flow back to the contact-details.component
Two-way Data Flow

With this working I can remove the extra email display on contact-details.component.html since I probably wont need it going forward.
Conclusion
Now that we have two-way data flow working we should finish up our little component. How do you think it is coming so far? Let me know by leaving a comment below or emailing [email protected].